

Modder’s Resource Pack – The Witcher Extension
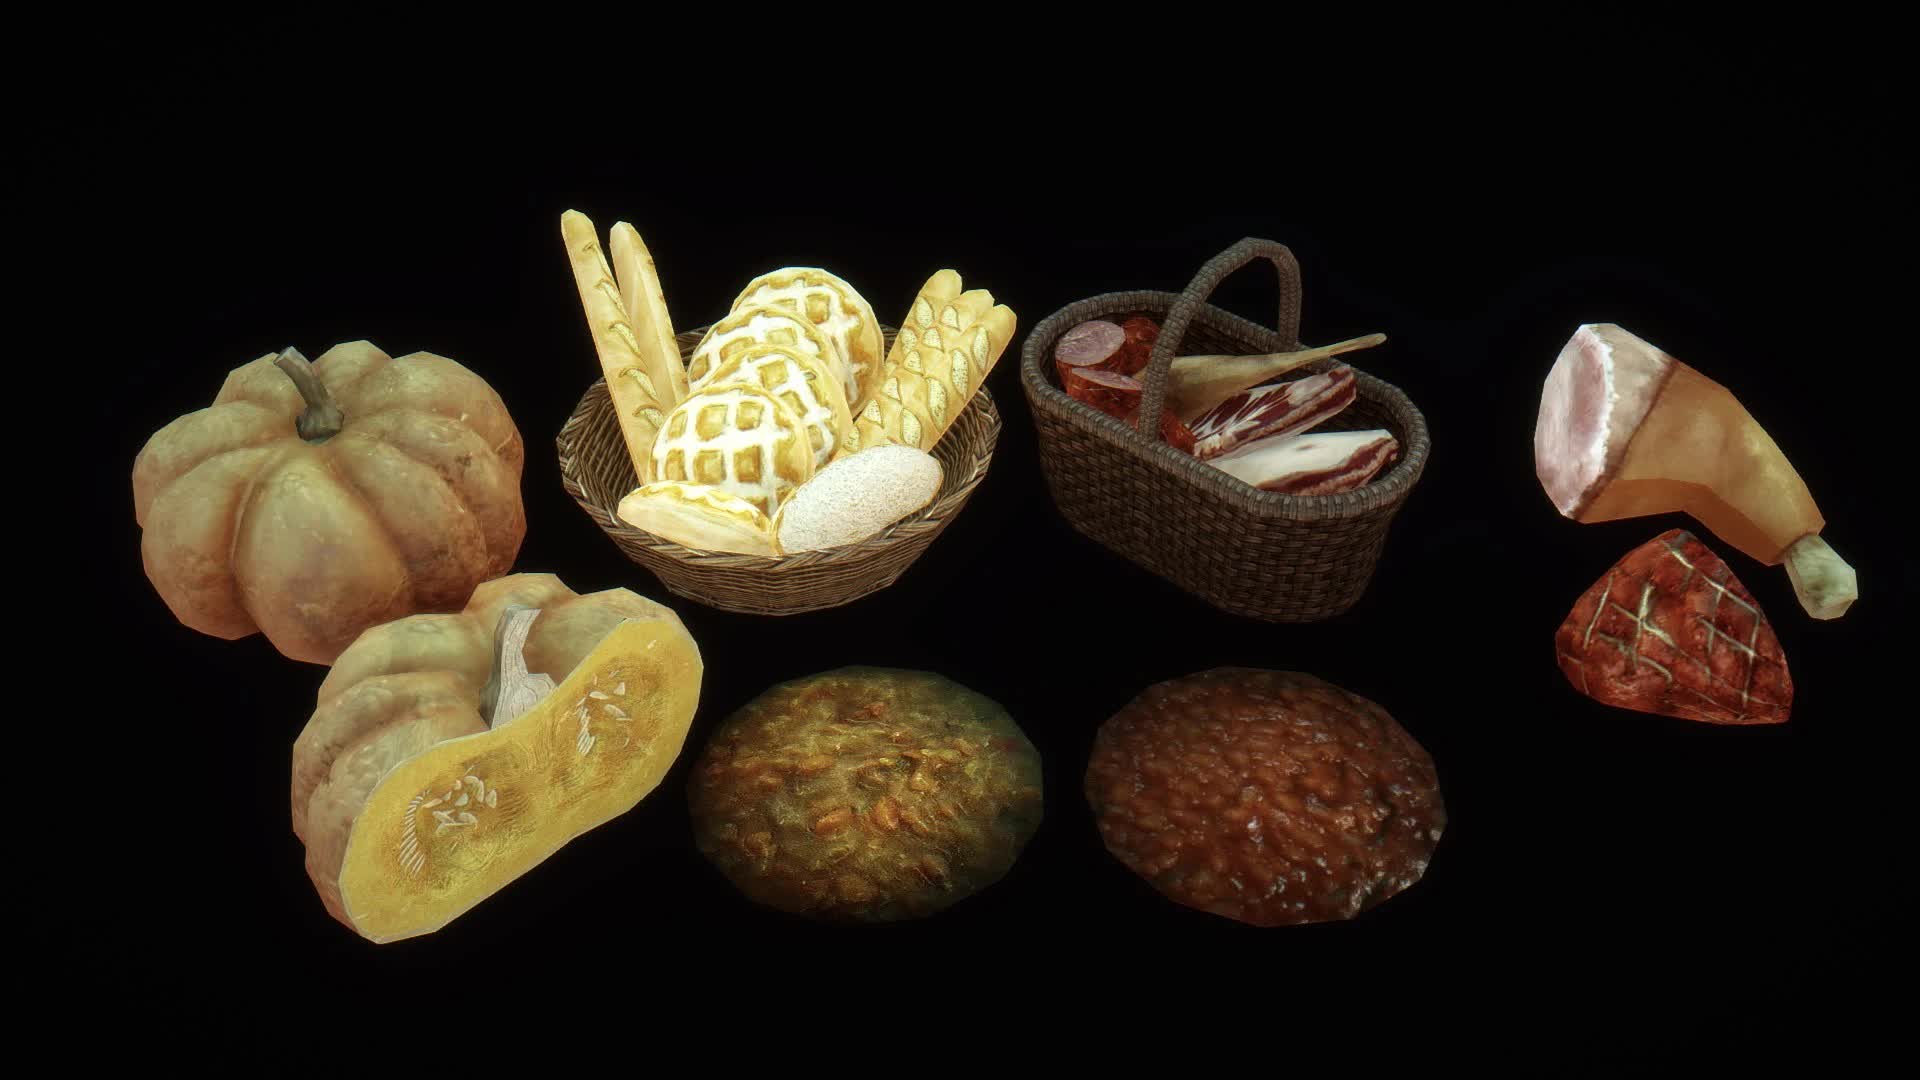
Adds a lot of new resource meshes converted from The Witcher games.
October 2022: I’m currently porting this pack to SSE with optimized assets and maybe new ones 🙂
Version 1.2
DESCRIPTION
This pack includes a lot of new meshes for modders, converted from the games The Witcher 2 and The Witcher 3. I’m not the creator of these models: I’ve just converted them and added proper lighting effects for them to work in Skyrim and sometimes created new maps to enhance them.
• They are meant to be added into the CK under Statics.
• They have proper normal maps with alpha.
• They have, if needed, environment maps, cube maps and transparency.
• They have proper collision blocks.
• They have proper material flags (right sound/effect when you hit them in-game).
• They may not be lore-friendly, but that’s at your discretion 😉
Please note that the lighting effects are optimized for vanilla lights and may look differently depending on what ENB you’re using.
DETAILS
• Working furniture (to add in Furniture section in the CK):
– SatinChair
(more to come)
• Folder textures\Oaristys\The Witcher\zzVariants: contains several recolours for some items. You can change the texture path of an item in Nifskope.
– Canvas
– SatinChair
(more to come)
HOW-TO
1. Copy the meshes you want to add in your mod in Skyrim/Data/meshes, in the folder of your choice.
2. Copy the related textures (usually with the same name than the mesh) in Skyrim/Data/textures, keeping the same path (or change the path in Nifskope if you know what you’re doing).
3. Open the Creation Kit and create/load your mod. Go in the Object window. If you want to make a Static, you have to go in the subfolder “Static”. Right-click on the list and click New.
4. In the window which appears, there is a line named “Model” with an “Edit” button at the end. Click it. A new window named “Model Data” appears, with another “Edit” button. Just click it and then choose your mesh in the folder where you put it. Click “Open”, then “OK”.
Note: If there is an error message when you open a mesh (it shouldn’t), please report it so that I can fix it!
5. Complete the window with the other data (ID, name) and click “OK”.
6. Drag and drop your new object from the object window to the Render window. It should appear and you can now place it anywhere you want in your cell.
7. Save your mod. When you want to release it, you’ll have to release the resources too, keeping the same folder structure.


