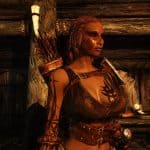
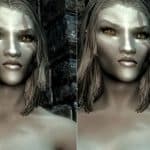

Caliente’s Texture Blender
A custom written Windows application that attempts to simplify the task of applying texture modifications to Skyrim’s textures. Designed for flexibility and ease of use. Please read the included readme file and try the Examples to learn how to use. Also includes c++ source code released under MIT license.
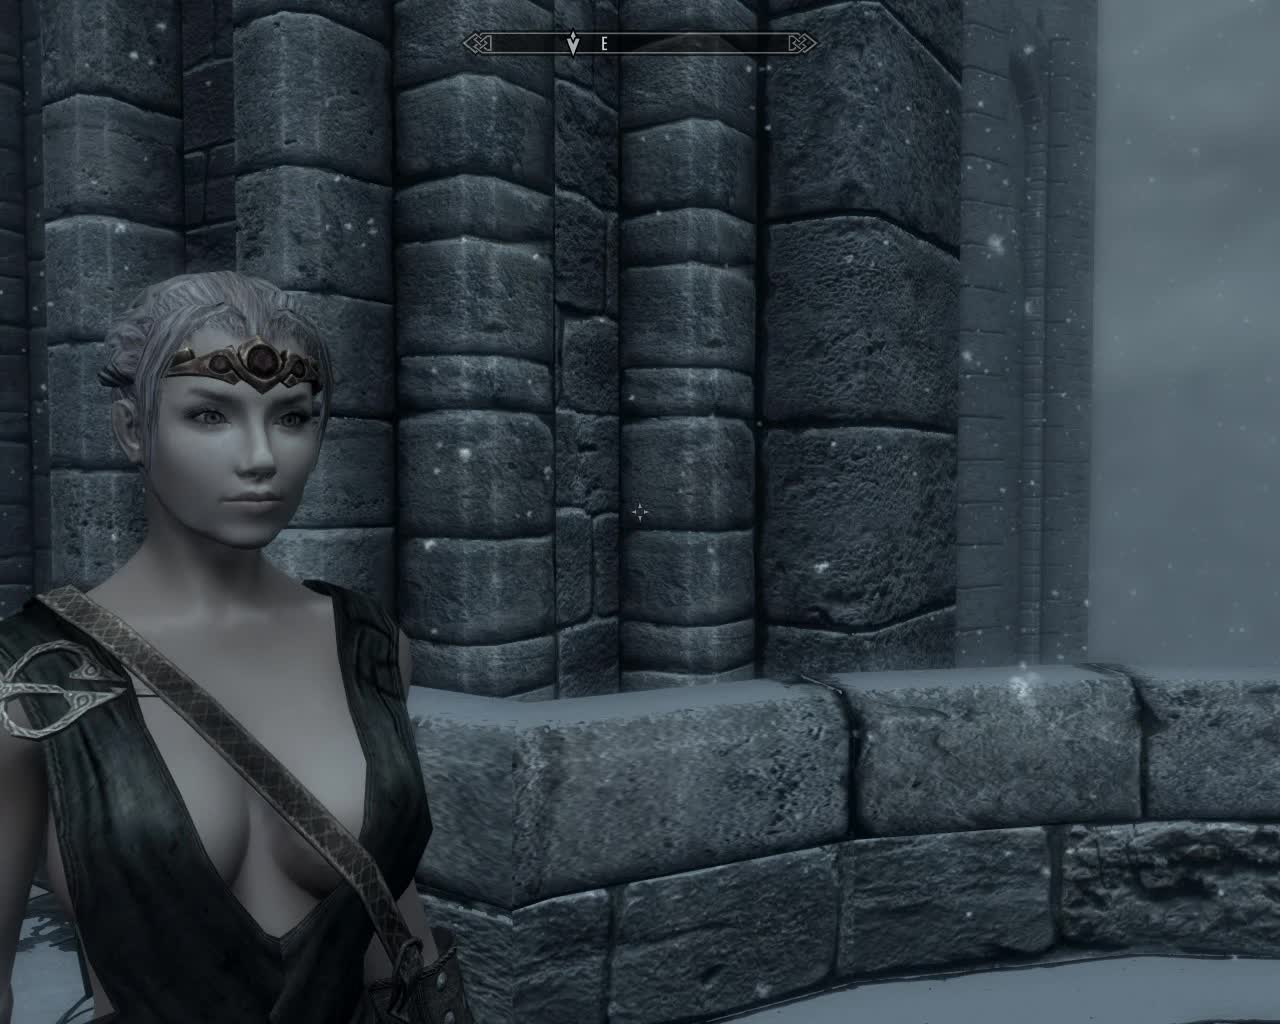
This is a small tool designed to simplify the process of applying modifications to existing texture maps for use in games. With only a few clicks, you can quickly apply a tattoo to your character’s body, change the details on your favorite set of armor, or blend away an ugly texture seam between joined meshes. Please note modifications such as these require separate texture file packages to be installed.
Caliente’s Texture Blender (TexBlend) is easily expandable by a user or by content authors who wish to provide a simple interface for providing options for their work. A simple definition format (detailed later) allows nearly any sort of texture to be modified, and a clear file organization method allows each user to build a library of modifications that can be mix-and-matched at will.
TexBlend is a C++ application written for Windows XP and above, requires no additional software to perform it’s duties, and comes with complete source code that you’re allowed to view and modify as you wish. The image manipulation is done with a modified version of the Developer’s Image Library (DevIL), and supports a very large array of input and output file formats.
Why use Caliente’s Texture Blender?
TexBlend allows you to apply desired texture changes without having to download or use a more full featured image editing tool. The various tasks of correctly loading files, matching sizes, and saving the files in the right place are automatically taken care of. It also allows you to work with the files in a manner that reduces the tedium of keeping track of numerous files.
TexBlend Mods
Body Imperfect by BetterBecause
Body Designs by Jeir
Body Options by SvarogNL
Fitness Body by SvarogNL
UNP Texture Blender
Installing TexBlend is a simple matter of extracting the program archive to a location on your hard drive. From there, simply execute TexBlend.exe to use the program.TexBlend comes with a small set of texture files (mainly for use with my Skyrim Female Body Mod), but be on the lookout for additional texture packages, from me or others, intended for use with the program. See the section on adding custom files below to understand how these texture files should be stored. For the most part, additional texture packs should be installed by extracting them to the TexBlend installation folder, but be sure to check the packages for any special instructions.
To make things easier, you could also make a CalienteTools/TexBlend folder inside your Skyrim/Data folder to place the TexBlend files. If you are a user of CBBE, and use BodySlide, then the CalienteTools folder should already exist, so you just need to make a TexBlend one.
Using TexBlend is essentially a matter of choosing a source image and a modification image, and having the tool superimpose the latter on the former. Before using TexBlend, it is recommended that you ensure that you have available backups of all files in your skyrim/data/textures folder.
First, you must choose a “texture set” to work with. This is conceptually a grouping of texture files (ie, color map, normal map, specular map, etc.) and associated variants (eg character race variants for a face texture). The topmost left selection box labled “Set:” will enable you to make this selection.
Next, you will need to choose which ‘Type’ to work with fron the selection labeled “Type”. The types correspond to the texture channels used by models in a game to display various effects. Typically, the types are: Color for the actual color of the object Normal for the information that allows the object to interact with light (eg, shadows and small bump details) Specular for the shinyness of the surface. Other channels are possible, including Glow, Skin, Environment, etc.
Third, you will select the variant to modify from the list beneath the Type selection. In many cases, this list will have only one available selection, such as ‘Female’ when modifying the body/color set included with TexBlend. Other times this list will contain the names of potential variants, such as the race variants when viewing the included Head/Normal set. You can think of this list as the list of variants that will be modified by the blending operation. Normally, all available variants for the texture set are selected — simply uncheck any that you wish to avoid updating when applying the modification. In most cases you will leave all items selected.
Fourth, you will choose the source file itself that you wish to modify. This appears in the tree in the bottom left of the application window. By default, TexBlend will pull source textures from the ones currently installed with your game. The checkbox in the lowest left of the window labled “Use Currently Installed Textures” allows you to change this behavior.
NOTE: only textures in the Skyrim/Data folder are available; TexBlend does not extract images from the skyrim .BSA files. If you wish to modify vanilla textures, please extract them first.If you uncheck the use currently installed textures option, the tree view of available source textures becomes usable. This list is filtered by the texture set and channel to only show appropriate choices, and the files themselves are the ones located in the TexBlendSource subdirectories. You can double click a file in this list to show a preview of the image.
Finally, you will choose what modification to apply over the source texture. To do this, select an available file from the tree view in the center column of the application. This list is filtered to only show options that are appropriate for the current texture set and channel, and the files themselves are located in the TexBlendLibrary subdirectories. You can double click a file in this list to show a preview of the image.
Once your selections are complete, you can click the preview button (lower right of the window) to get a view of the source,modification,and destination image. Double click on the preview boxes to get a larger view.
When satisfied with your choices, click the Blend Texture button to generate the modfied textures and save them to disk. Normally the source, destination, and final images are saved in memory after you click preview or blend. A second press of the blend button will simply re-save the same image to the disk. If you wish, you can Control+Click on the blend texture button to force TexBlend to reload the source and modification files and regenerate the final image. This can allow you to re-apply the same modification more than once (as long as ‘use currently installed textures is ON). In the case of partially tranpsarent modifications, this will cause successively darker applications of the same image.
If you have multiple variants selected in the variant list, the blend operation will attempt to modify all of those files with the modification image. If the ‘use currently installed textures’ option is ON, each variant source will be loaded and modifed individually. If the ‘use currently installed textures’ option is OFF, the single source file and single modification file you have selected will be saved to ALL selected variants. To avoid this, deselect all but one variant.
– Double click a file in the source list or library view to load it into a preview window, then double click the preview window to see a larger view.
– To overwrite just one thing (such as a single race’s head normal), deselect all other options in the list. At least one must be selected for anything to work, however.
– Copy your favorite textures from either a mod directory or the Skyrim data directory to TexBlend’s Source folder to keep an inventory of textures that you can easily swap in and out. See the section on Folder Structure in the Readme for details on what should go where.
– You can apply multiple mods to a single texture by selecting different mods one by one and Control+Clicking Blend Images button to add them together. Warning, doing this with a compressed DDS file output might reduce the final quality. (since the compression tends to loose a little each time its saved). Note, if you don’t Ctl+Click on the Blend button, and you don’t change the source (or toggle use currently installed textures), you’ll simply replace the modified texture.
– Similar to above, if you have a translucent mod image (like body hair or a tatoo) you can Ctrl+Click blend repeatedly with the same texture mod selected, and successively darken the result.
Q1: After using TexBlend, my character’s face has large white/shiny blocky areas. How do I fix this?
A1: Disable compression in the texblend/setdefs/basehead.xml file. Look for the female head specular map and set from 1 to 0. (it’s on line 35). Then reinstall the mod’s head textures, and reapply texblend.
A2: Go to your Skyrim/Data/Textures/actors/character/female folder and delete femalehead_s.dds. It’s not ideal, but it should fix the issue. The femalehead_s.dds is the ‘specular map’, which controls how shiny or dull a face texture is. For a very small number of people, using TexBlend causes it to become buggy.
A3: Usually this occurs with Bella’s face texture #3. One user has said installing the ‘no shine’ option from that mod fixes it.
Q2: The face is so much darker than the body. How do I fix this?
A1: If the issue is with npcs, then you have changed their appearance in some way, such as by changing the hairstyle, or removing warpaint, will cause this bug. For a fix, go to the Apachii SkyHair mod, and follow the instructions in the description.
A2: If the issue is with your player character, then it’s a more serious fault with no known cause, and there are no definitive fixes for it. One user has found that their video card kept default back to application settings, so be sure to check that to see if it’s doing the same.
A3: You’re using a face mod with dirty skin, or the vanilla face textures. As most body textures are clean, this means there will be an obvious colour/shade mismatch. Install a different face mod, or a dirty body texture to fix this.
Q3: I screwed up and now the textures are black/multicoloured/invisible! How do I fix this? -or- I didn’t bother reading the instructions and clicked Blend on something I didn’t want/I’ve changed my mind and don’t want this tattoo/added texture! How do I ‘unblend’ the textures?
A: Reinstall the original textures/the files you backed up before you started. Currently there is no way for TexBlend to revert to the original textures. In future, make sure you use the preview button to check what exactly you are changing.
Q4: I added a tattoo to my character, and now all same-gender NPCs have it! Why does this happen, and how do I make sure only my character gets the tattoo?
A: With the exception of Argonians and Khajiits, all female characters use the same body texture, just with a different colour overlay to give them the racial colours. The same goes for male ones. The only way around this is to have a custom race that uses its own unique textures.
Q5: My characters have blank colours at the hips. Can I use TexBlend to fix this?
A: This is caused by not using the correct textures with the body. For instance, you can’t use CBBEv2 body textures on a CBBEv3 body. TexBlend can’t fix this; the only way is to install textures for the body you have installed.
TexBlend comes with a few textures for demonstration purposes (And also to facilitate the neck seam fix process), but it is very easy to install your own source textures and modifications, and even allow TexBlend to support more texture sets such as armor or environments. Please see the Readme for full instructions about how to add new files.
TexBlend is a C++ application written to utilize the standard Win32 API. The full source code is included in the package, under the MIT license (License is printed at the top of each source file). The code itself is regrettably uncommented for the most part, but is included partly to allow others to expand/adopt the code if they like, and to allow them to see exactly what I’m doing in there. The license allows you to do pretty much whatever you like with it 🙂 I did not include any makefiles or project files, but it should be simple enough to add all the source files to a basic project and compile if desired. I’m happy to answer questions and/or accept critique and suggestions with respect to the code and application, but please note I won’t have time to give anyone a programming course 🙂
TexBlend makes use of two third party Libraries.
TinyXML
A small chunk of code written by Lee Thomason that performs non-validating parsing of an XML document. This code is included right along side the rest of the TexBlend source files (they all start with tiny*), and is released under the MIT license as well. I have made no changes to this library, and recommend it to anyone interested in a fast and easy to use XML library.
DevIL
A nicely featured image library called Developer’s Image Library and written by Denton Woods. The library is offered under the Lesser GPL license (full license text available in the src/DevILChanges/DevIL-LICENSE(LGPL) file). The library itself did not quite meet the needs of TexBlend, particularly in the handling of transparency from PSD files, so I’ve modified some of the library code to correct these issues. I did not include the whole library with my distribution, but instead included the files that I changed. To see what I changed, read TexBlendsrcDevILChangesAboutThisFolder.txt, or look at the source files located within that folder. To obtain the library itself. My changes are based on version 1.7.8, and should you need to rebuild the .Dlls, replacing the official library files with my changed ones should suffice. My compilation of DevIL also included libSquish (For compression), libJpeg, libpng, and zlib. Any other external libraries supported by DevIL were disabled in the configuration and not used.

