Modder Resource – Easy NPC Creation
This is a resource mod designed to help you create numbers of NPC accurately and easilly using Skyrim game instead of the tedious CK Editor window
What this does:
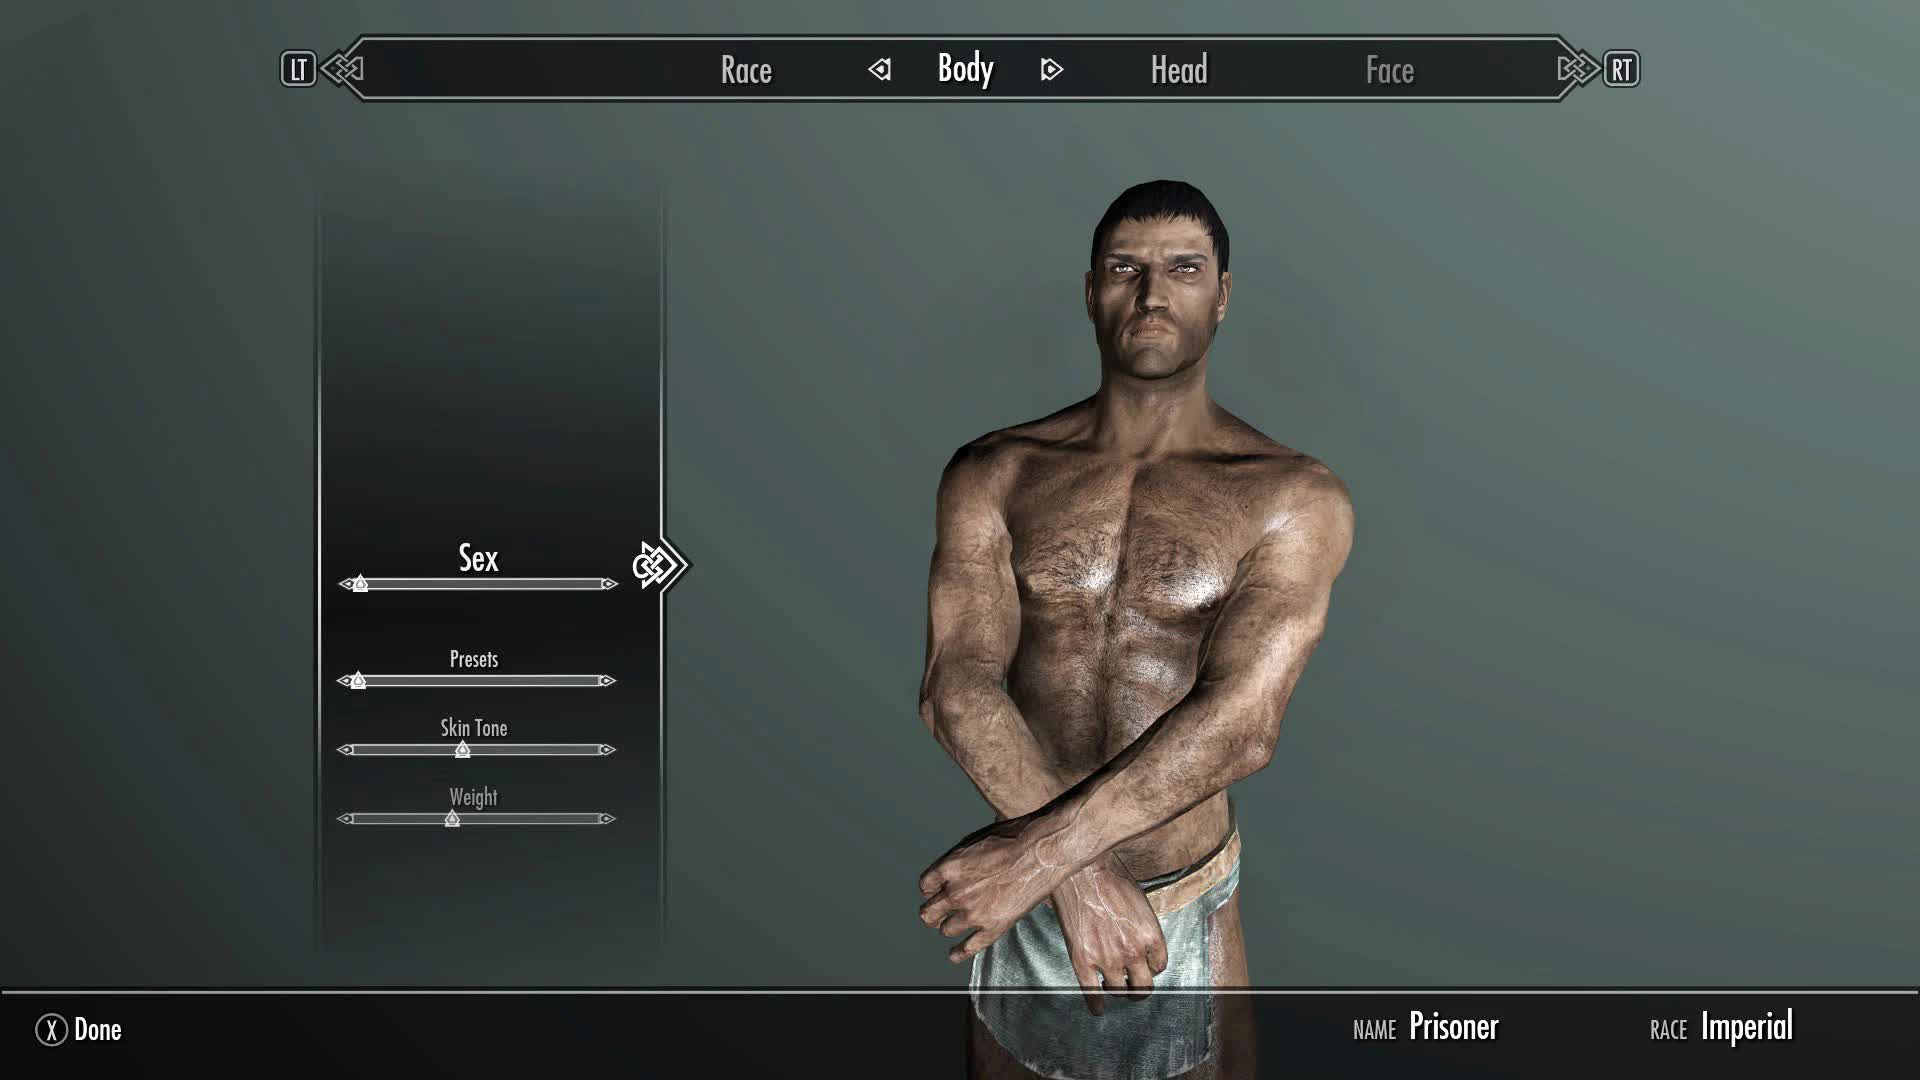
This mod allows you to create NPC faces quickly and easilly using Skyrim’s built in ShowRaceMenu editor. Using the race menu to create NPCs is a much more intuitive and convenient approach to creating batch NPCs when you need to create several characters at once.
The best part about Race menu is that since it runs in the realtime skyrim engine, the rendered character is 100% as-it-will-appear in the game, something that the CK editor cannot guarantee.
Another advantage of this mod is that it uses a photo-studio-like 3-point lighting setup with a neutral background for perfectly clear character renders (you can adjust the lights in the CK if you wish to tweak the values to your liking, however it is recommended to use the default lighting calibration as this will give you a typical lighting range for in-game use – setting the light calibration too high might make your characters appear darker than intended when playing the game normally)
What this mod does NOT do:
It does not fix the grey-face bug.
It does not automatically create Actors in the CK. You still need to physically create your actors in the CK and export face data when you have set your packages, factions, inventory, stats etc
Installation:
Unpack file and drag contents into your Data folder, or simply use NMM and DL with manager.
Note, you do not need to have the esp active at all times. Only load it when you need to create characters. Also note, you should not set dependency to this mod, it is only an external resource.
Uninstallation:
Delete the NPCPhotoBooth.esp and DCVR_AA_PhotoboothScript.pex files
Instructions:
1. After installing. Start up Skyrim with the mod enabled.
2. At the main menu open the console and type COC Photobooth
3. once the cell loads, directly in front of you is an activator button, pressing it will bring up the main menu
4. Choose a background color if desired, and select Begin NPC Creation
5. Once you have finished editing in the racemenu, name your character (can be anything this doesnt matter).
6. When the menu closes, open the console and type SPF NameOfNPC. This will create a .npc file at the ROOT folder (the folder that contains skyrim’s exe), not the data folder.
7. Open the CK, create a new Actor. Give it a editor ID and name, and select the same race as your custom character you exported in the game. hit OK to save your new character.
8. Re-open the character edit window, and scroll over to the Character Gen Parts tab. hit the Import button and select your .npc file.
9. Finish creating your character, setting the stats etc. and export the face data as usual by hitting Ctrl F4
Alternate tutorial for CK importing:
After using the photobooth to create and name your character, follow this tutorial (which is written much more clearly and has pictures):
Brokefoot’s Tutorial
just skip the part with the Showracemenu (since that is part is already covered by the photobooth procedure)


