Modder’s Resource Pack
A resource pack of about 500 new meshes made from vanilla ones.
DESCRIPTION
This pack includes about 500 meshes for modders, made from vanilla ones with 3ds Max and Nifskope.
They are meant to be added to the CK under the Statics category (see the How-to section).
• They use vanilla texture paths so their can look slightly different according to the textures you are using.
• Some will use custom textures (their name ends by a symbol °).
DETAILS
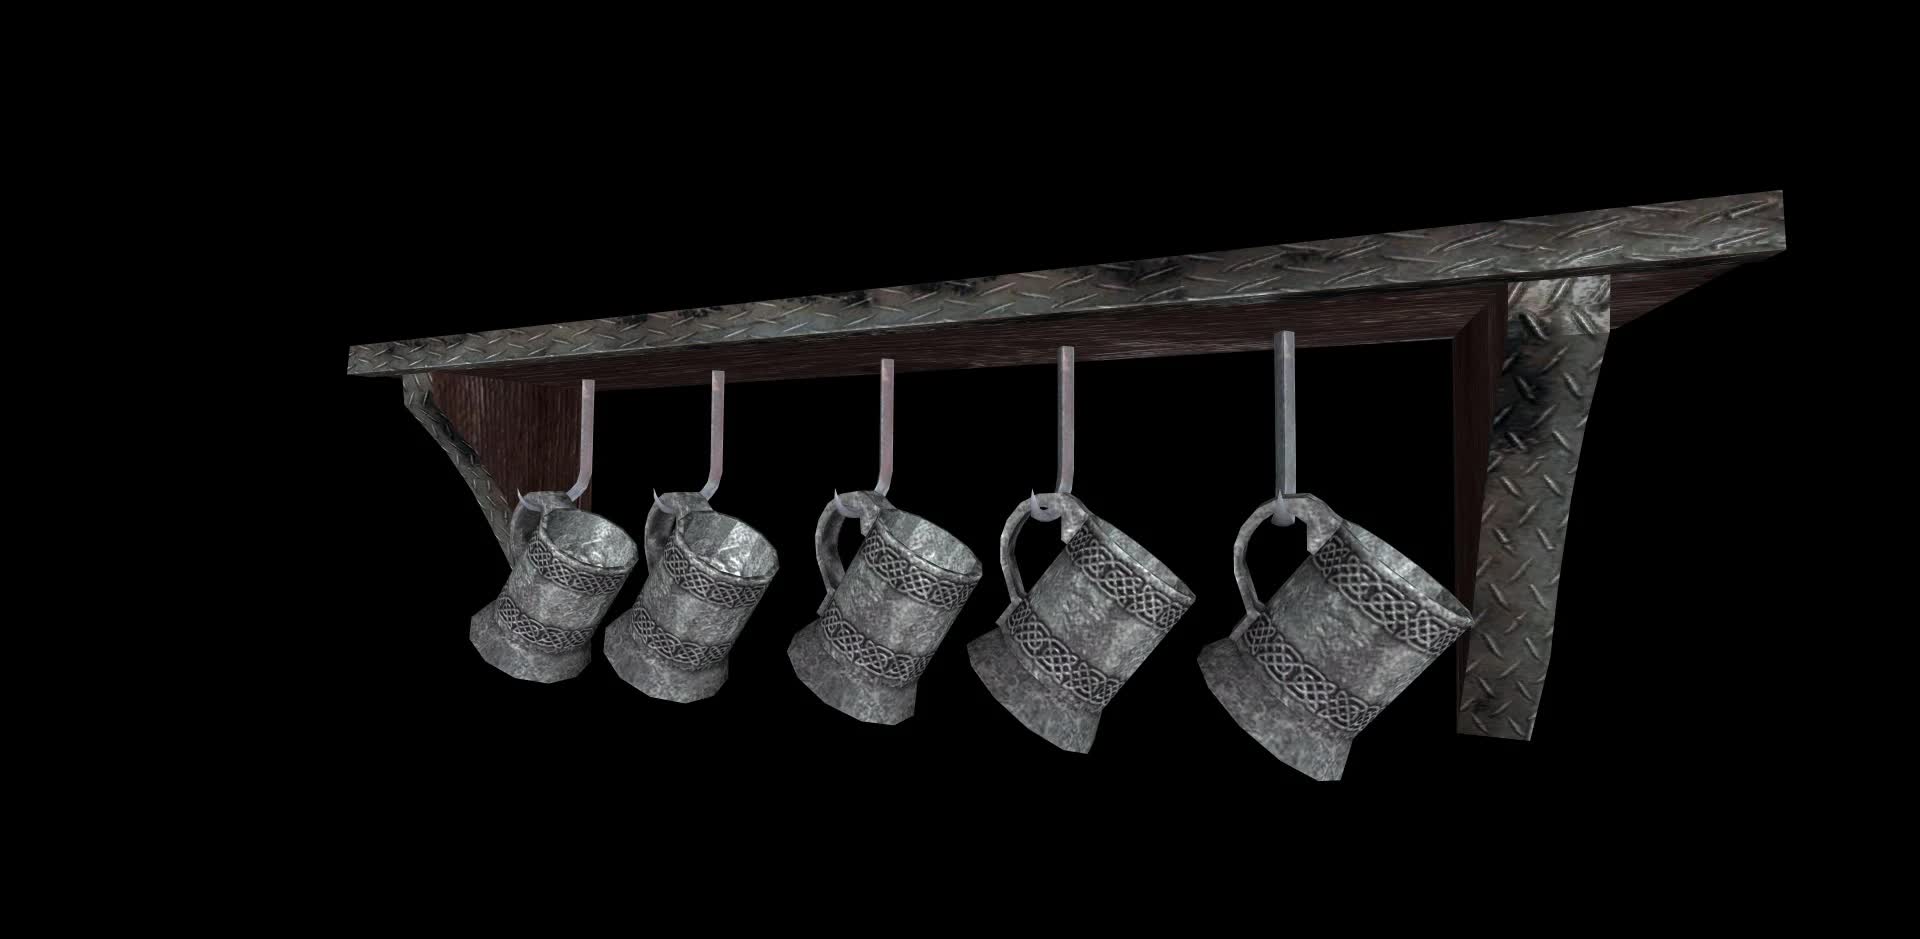
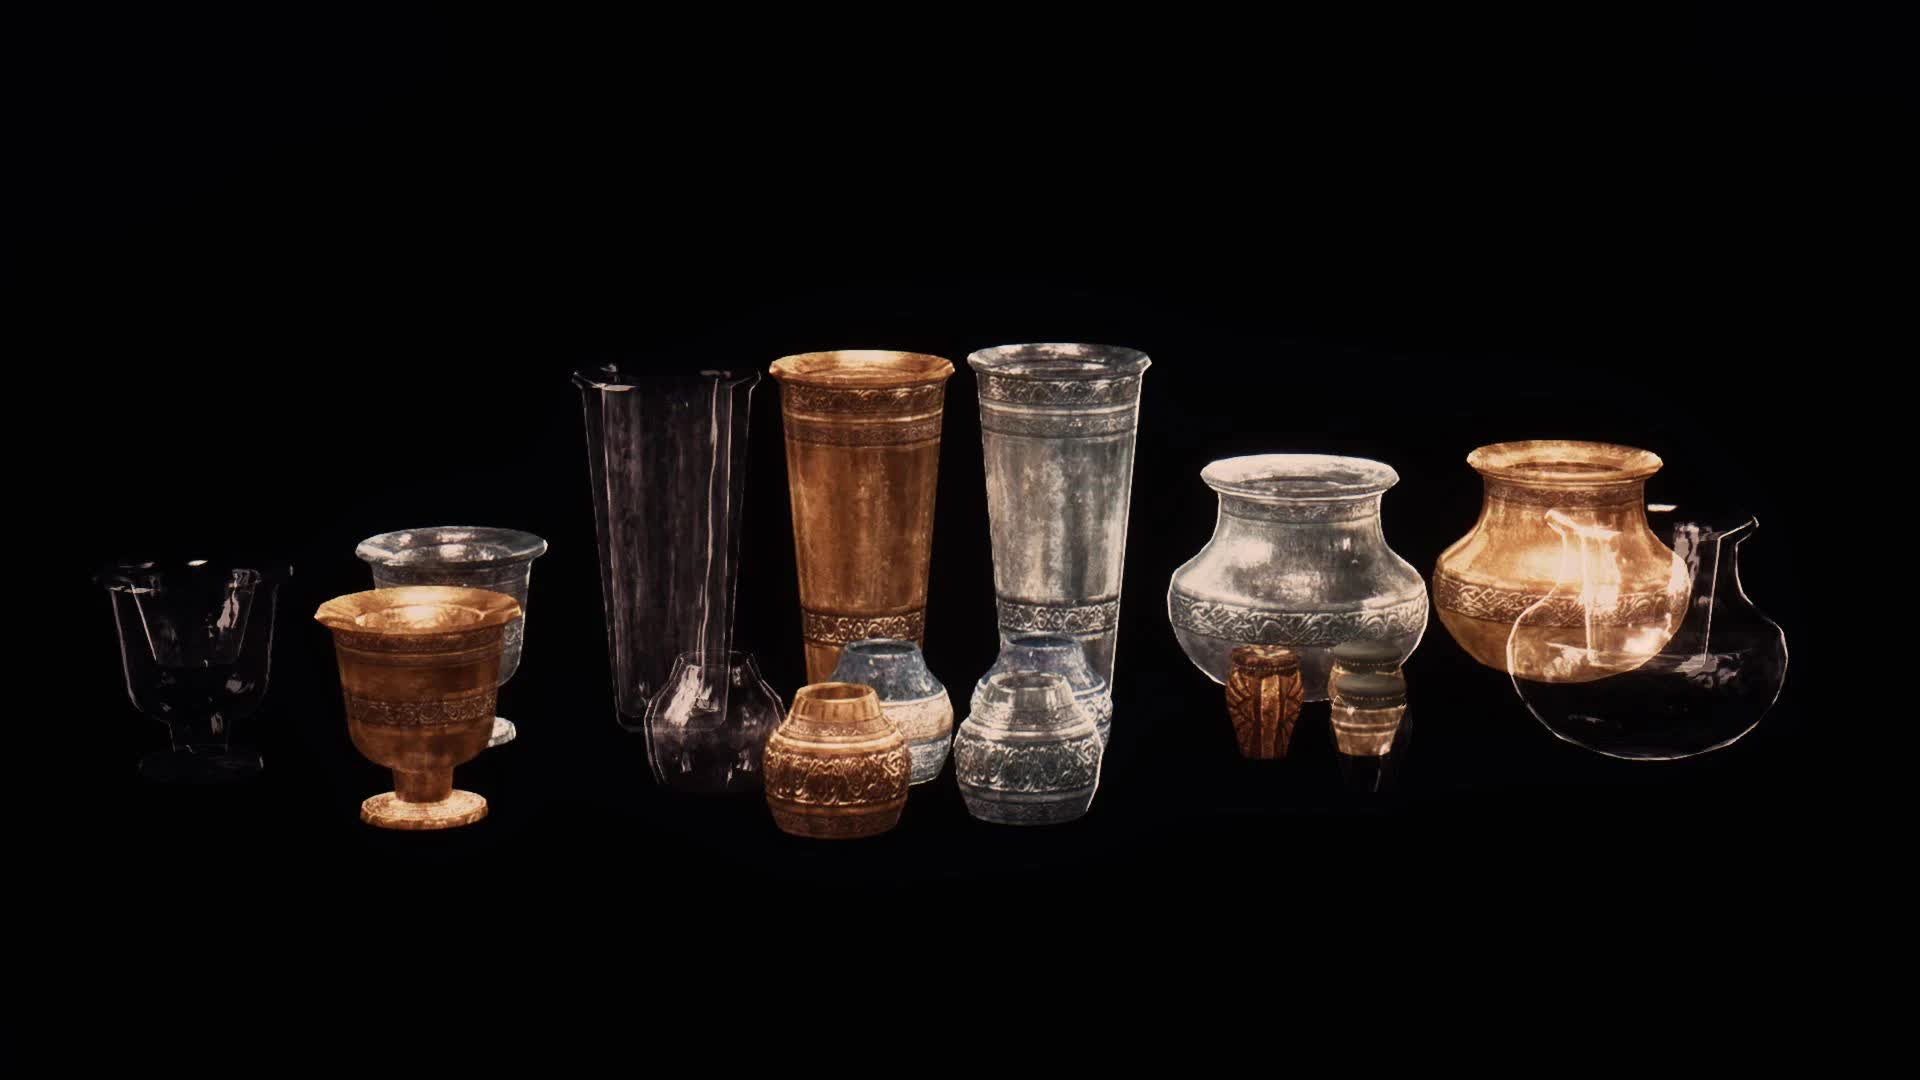
• CORE archive contains 386 meshes.
– Candles: On and Off.
– Clutter: Decoration.
– Dishes: Basic (wood, iron), Dwemer, Glazed, Gold, Nordic, Silver.
– Forge: Ingots and ore stacks (for each vanilla material type), linen (WrapStack in 10 colours – basic ROYGBIV colours plus white and black, and a better vanilla one; Sheet01, Sheet02, Wrap > movables).
– Furniture: New noble shelves, glass shelves.
– Paper: Scrolls, books, sheets.
– Planters.
– Pottery: Glass, Glazed, Gold, Silver.
– Skeletons.
– Soulgems: Stacks and Containers.
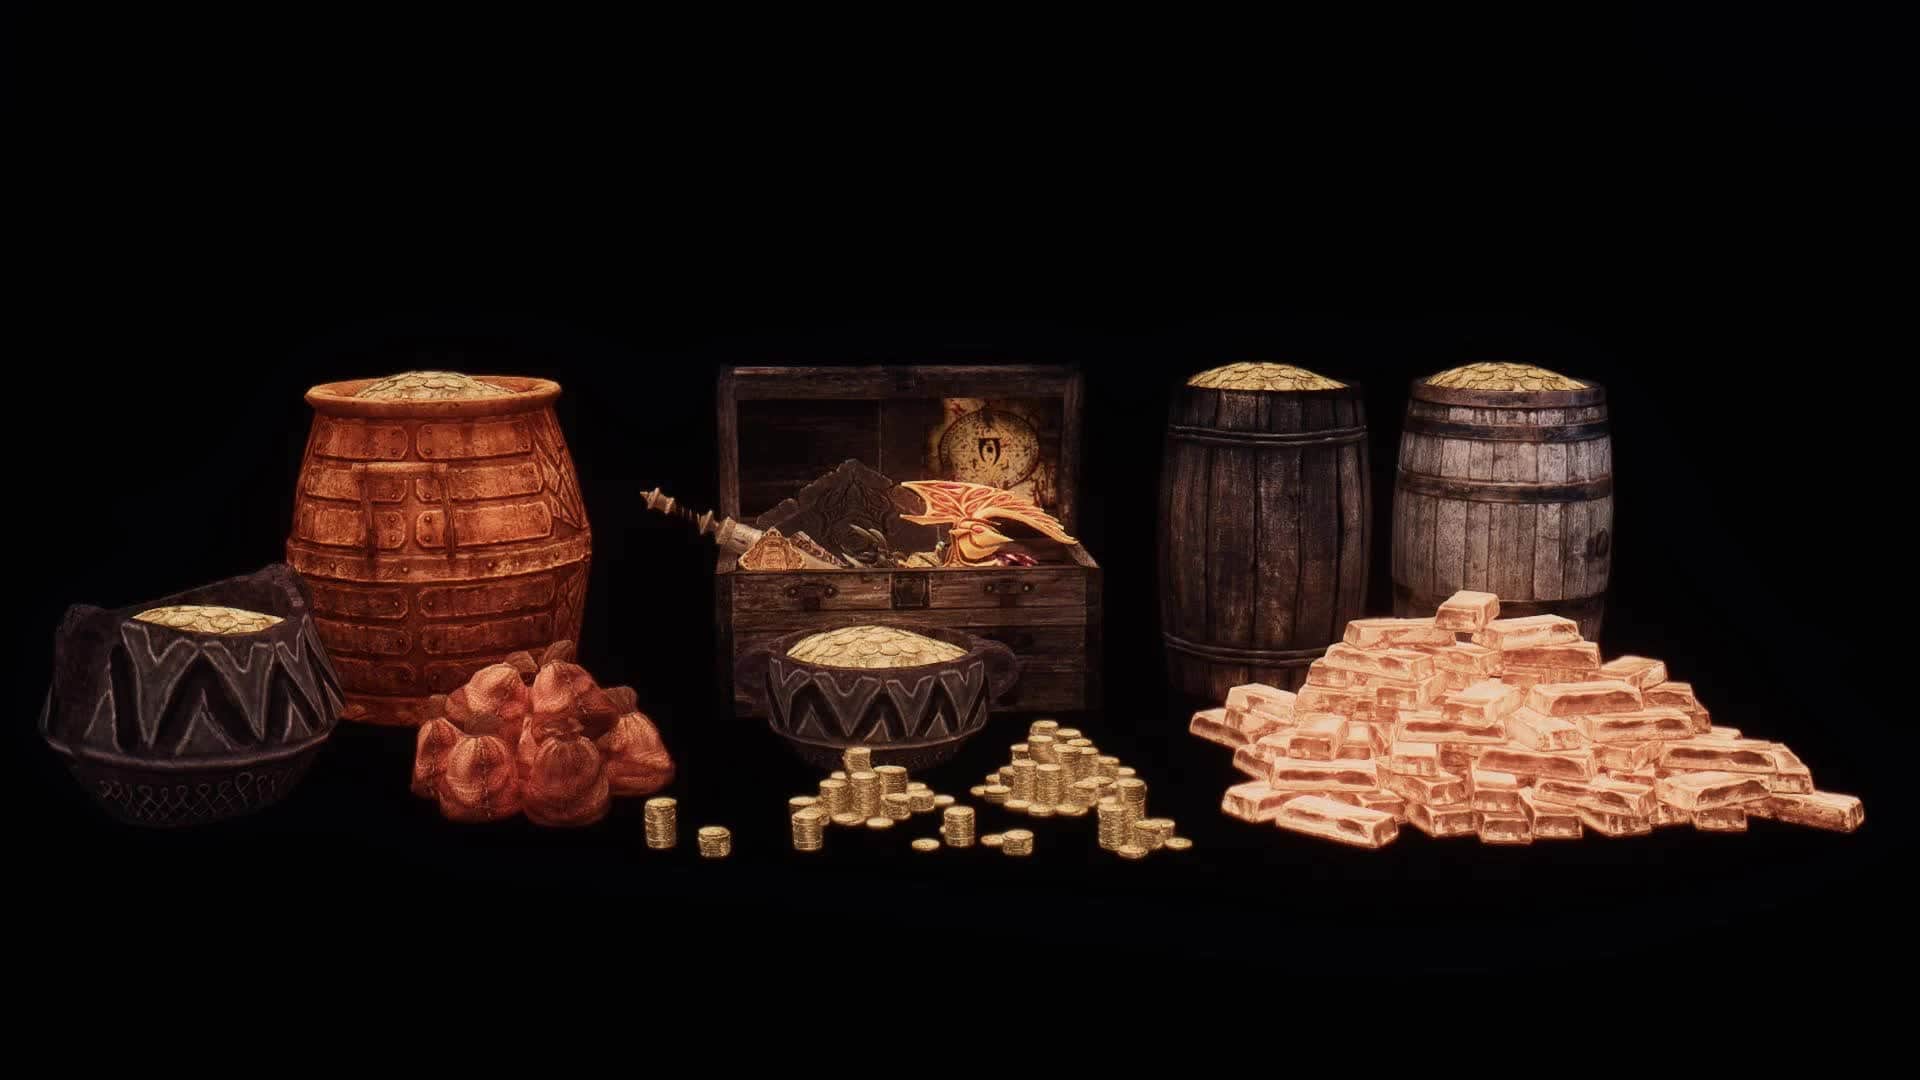
– Treasures: Coin stacks, gold barrels and pots, gold items, silver items.
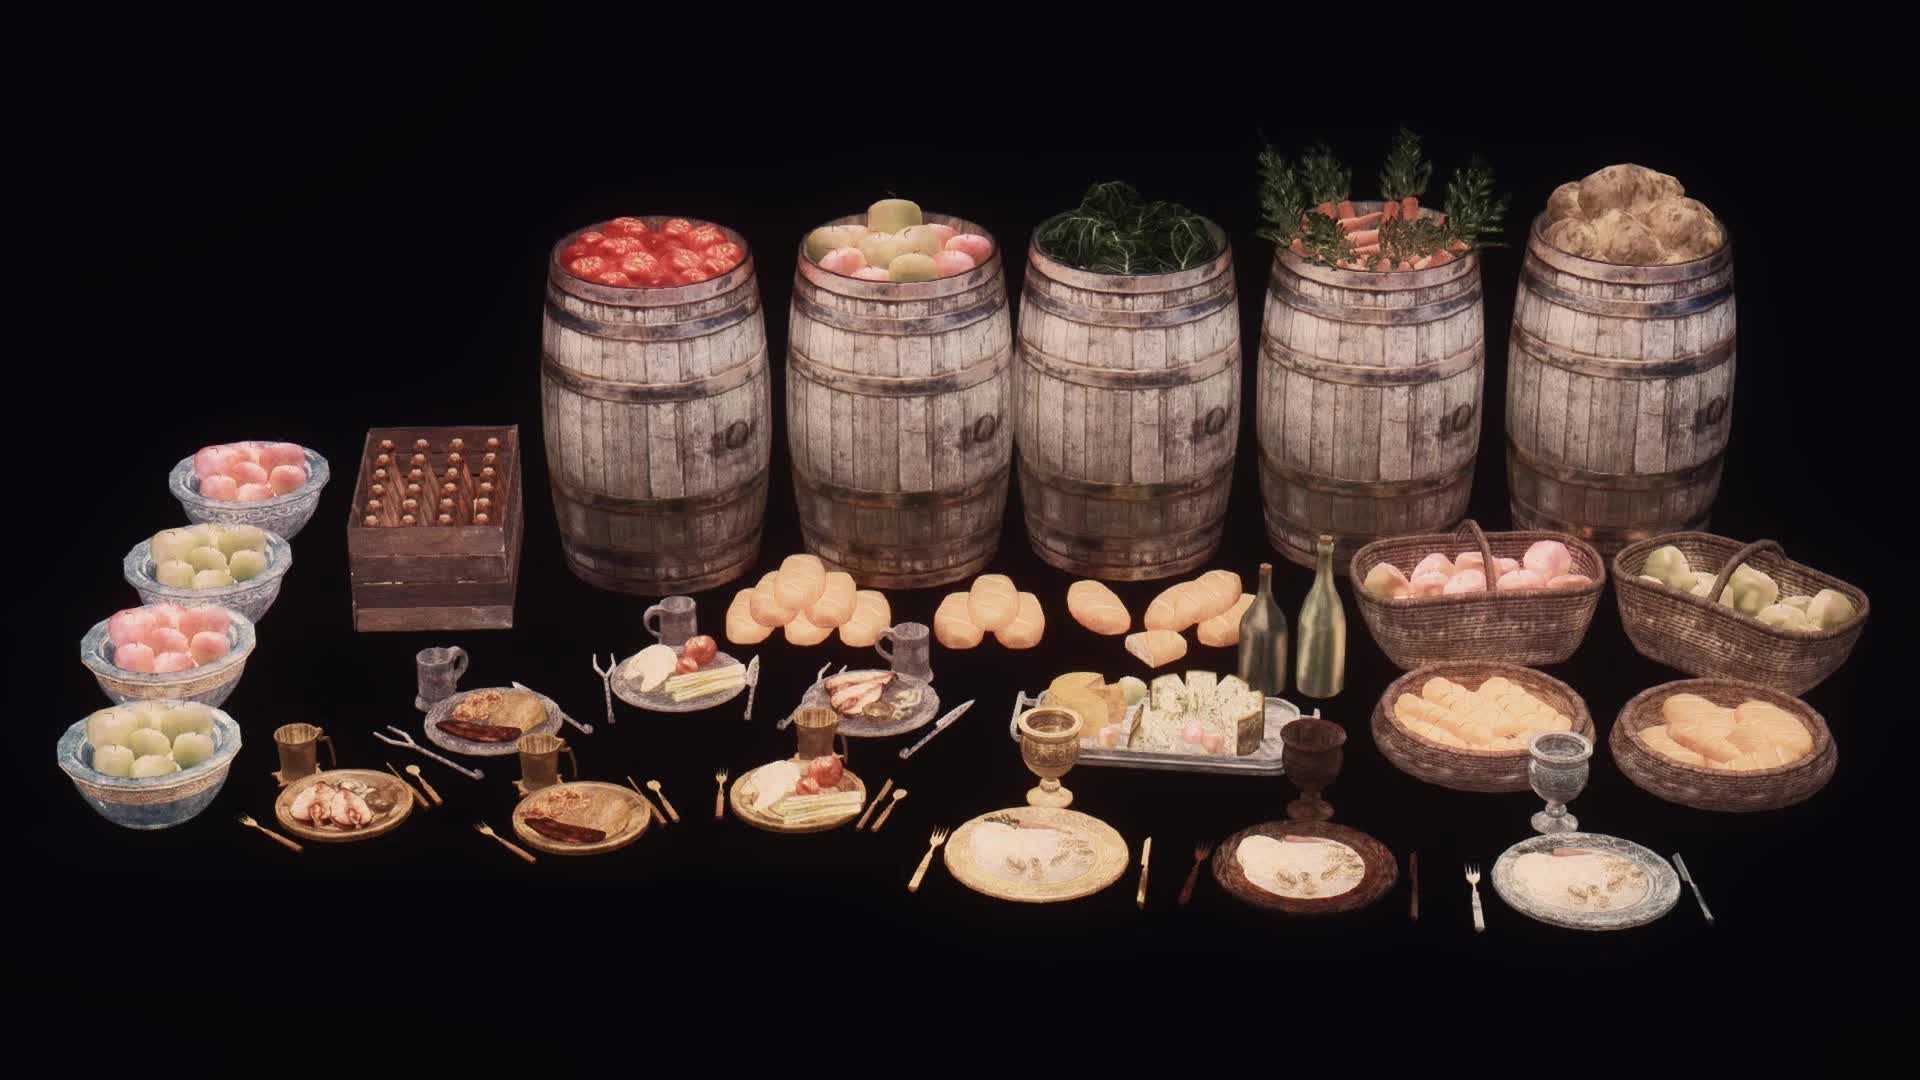
• ALCHEMY archive contains 111 meshes: ingredient jars, variations of mortar and pestle, little bags, plates and crates of potions.
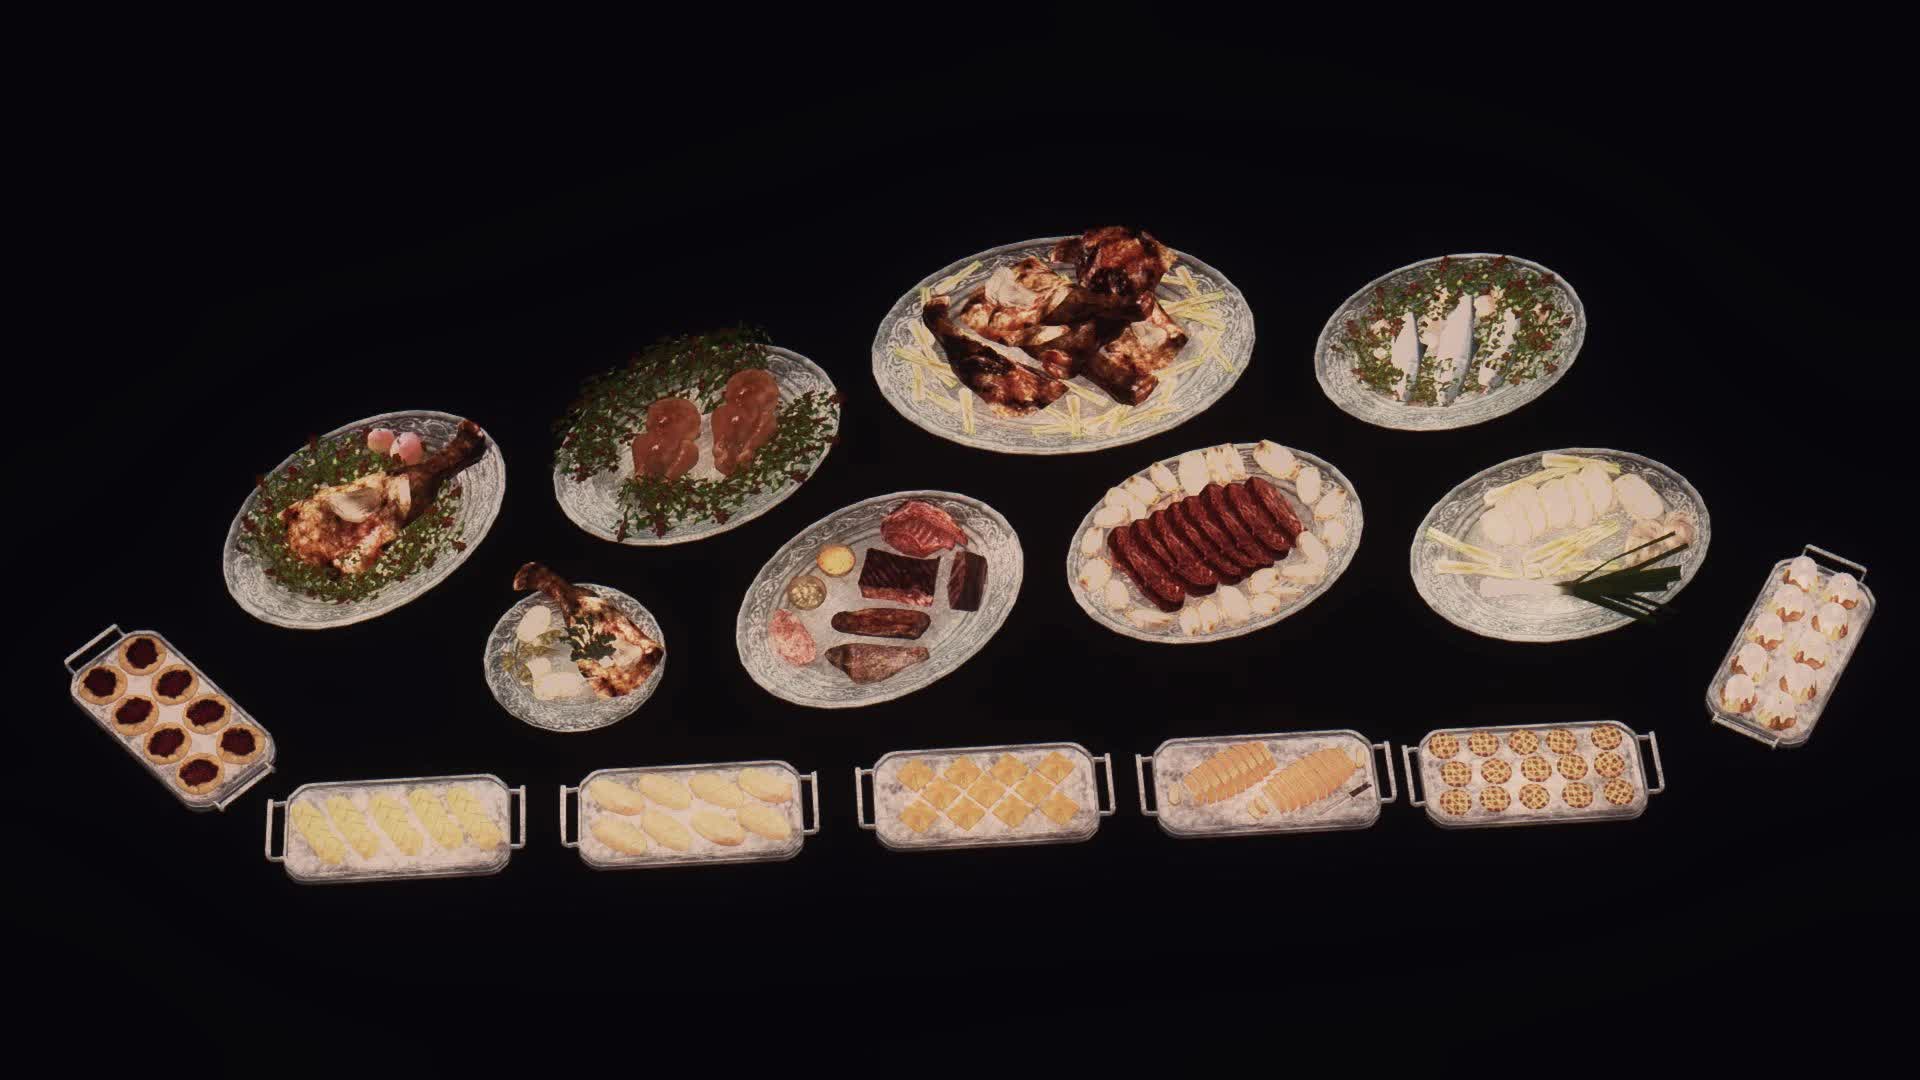
• FOOD archive contains 58 meshes of food plates, platters and baskets.
!! TEXTURES !!
Some of the meshes have custom textures. They end with a ° symbol. All the linen items and The Witcher 2 items
uses custom textures. You have to include them into your mod as well.
HOW TO
1. Copy the mesh you want to add in your mod in Skyrim/Data/meshes, in the folder of your choice.
– Attention: if the name of the mesh ends with a °, it means that it uses a custom texture that is localized in textures/Oaristys. You have to copy it into Skyrim/Data/textures, keeping the same path.
2. Open the Creation Kit and create/load your mod. Go in the Object window.
– If you want to make a Static, you have to go in the subfolder “Static”. Right-click on the list and click New.
– Same thing if you want to make a container, go in “Containers”.
3. In the window which appears, there is a line named “Model” with an “Edit” button at the end. Click it. A new window named “Model Data” appears, with another “Edit” button. Just click it and then choose your mesh in the folder where you put it. Click “Open”, then “OK”.
Note: If there is an error message when you open a mesh, please report it so that I can fix it!
4. Complete the window with the other data (ID, name) and click “OK”.
5. Drag and drop your new object from the object window to the Render window. It should appear and you can now place it anywhere you want in your cell.
6. Save your mod. When you’ll want to release it, you’ll have to release too my resources and all those you have used too, keeping the same folder structure.